Grouping projects together
Grouping projects together helps keep your sidebar organized and similar projects within reach of each other. Groups are shared across teams, so your organization will always be organized and on the same page.

If you need a break from the sidebar or a bit more room to breathe, you can close the sidebar by entering Option-Tab (Alt-Tab) on your keyboard.
Creating a group
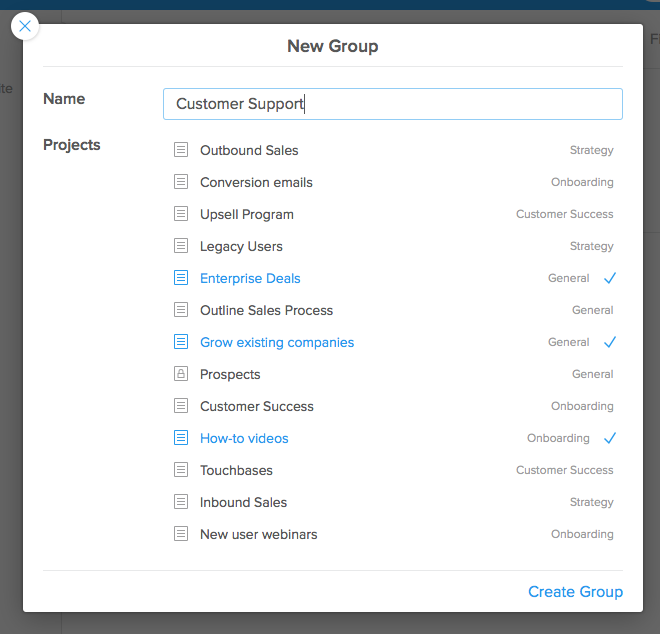
To create a new group, click + beside "Projects" in the sidebar and select "New Group" to open the New Group dialog.

Enter an appropriate name for the group in the "Name" field and click the project names you want to add to your new group. Don’t worry if any of the projects are already in other groups—they’ll be moved over without a problem. When you’re finished, click "Create Group" to instantly group the selected projects in the sidebar.
At the moment, empty groups cannot be created. If all projects (visible to you) are removed from a group, it will be removed from the sidebar. You can reorder your groups at any time by simple dragging and dropping the groups name in the sidebar.
Removing a project from a group
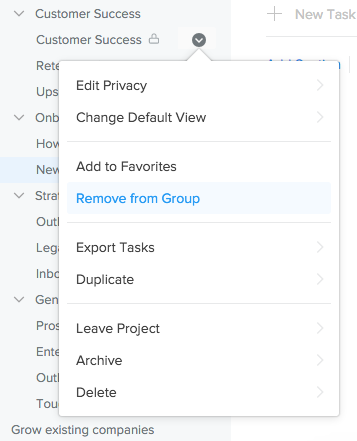
To remove a project from a group, hover over the project name above the project view or in the sidebar, click v to show the project actions menu, and select "Remove from Group."
You can remove projects from groups by simply dragging them outside the group!
Adding a project to an existing group
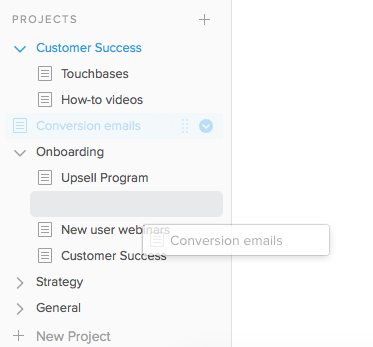
To add a project to an existing group, you can drag it onto the group’s name in the sidebar or between any project within.
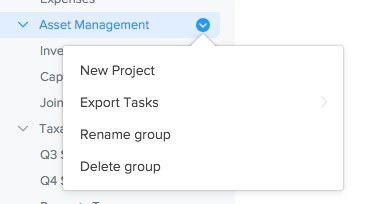
You can also export all the tasks within a group, rename the group, or delete it. If you delete the group, you’ll be asked to confirm in a pop-up window; select "Delete Group" to confirm. Don’t worry — all of your projects will remain, ungrouped, in the sidebar.