Creating projects
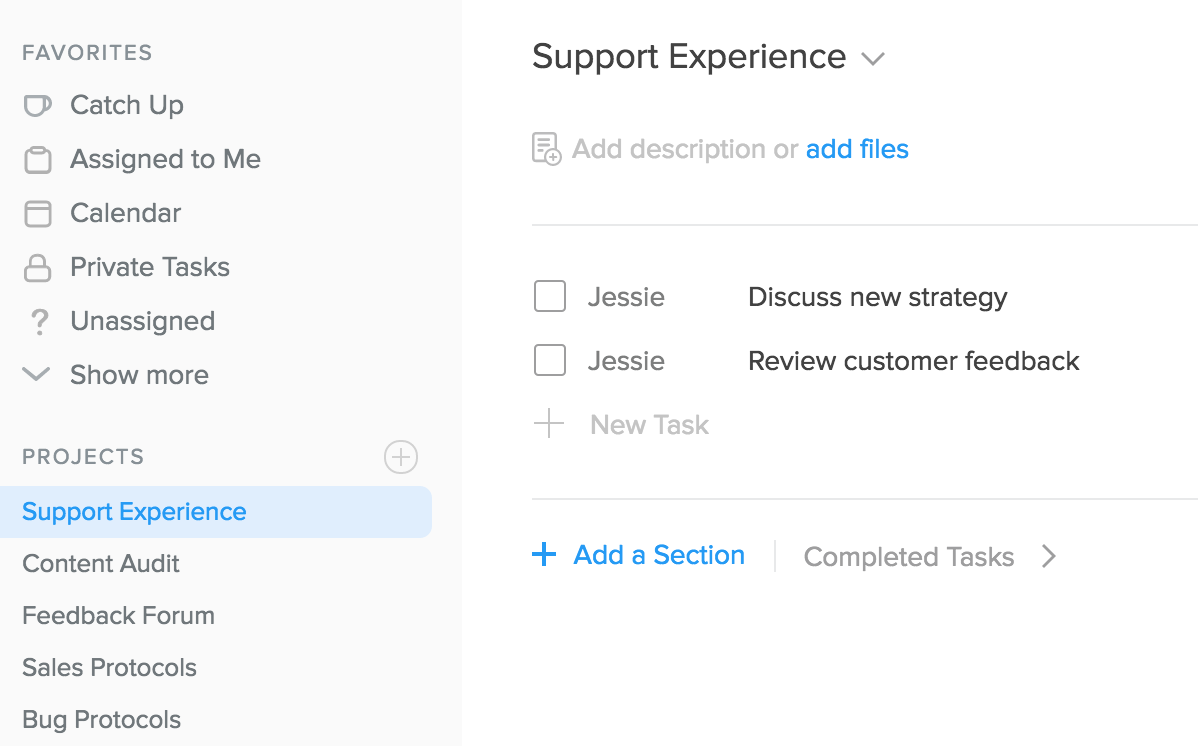
Projects are perfect for relating similar tasks and organizing your team. By default, projects are shared with everyone in the team, but you can also make them private or visible to a select number of members.
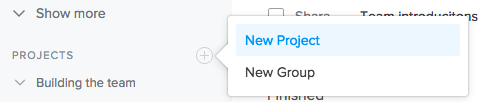
To create a new project, click + in the sidebar, below Favorites, and select "New project" from the popover menu that appears. You can also click "+ New Project" below your projects in the sidebar.
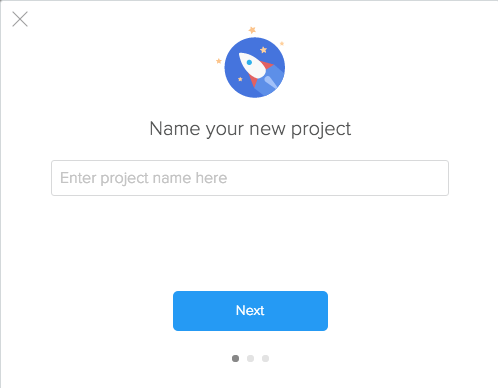
The first step is to name your project.
Next, select your default project view. List view will arrange your tasks vertically, while Kanban will display them in a horizontal timeline. You can read more on Kanban here.

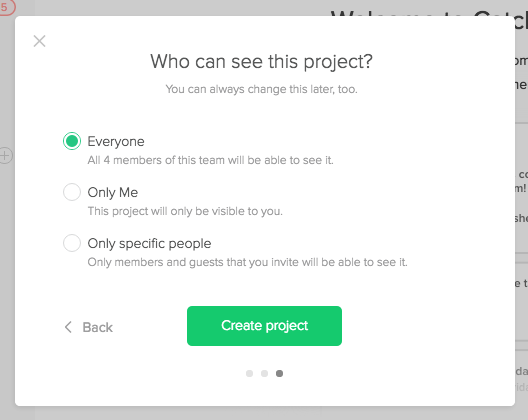
Lastly, choose who you would like to share the project with. You can make the project private to you by clicking “Only me.” If you select "Only specific people,” this will limit access of your project to only those users you select. On the next screen, you’ll be prompted to choose those members or invite guests. When you’re finished, click "Create project".
Automatic access to a project by team members depends on whether the team is locked or unlocked. If locked, adding General and Limited team members to your project will add them as team Guests by default. If the Team is unlocked and you invite a General organization member to a private project, they will be added as a Member and can make changes to the project. If you invite a Limited organization member to an unlocked team, they will be added as a Guest, preventing them from making any changes to the project.
You can tell if a team is locked on the Teams page if there is a lock icon next to the name.

You can create new shared projects from within the Task Form by entering a new project name in the respective project field and clicking the + suggested option when it appears.