Using sections in iOS
Within a project, you can quickly organize tasks into relevant categories or processes by using Sections. Sections can be used to create a timeline, set milestones, or indicate the progress of your projects. To create a new section in iOS, just tap the green + button in top right corner of your screen. This will open the new task pane.
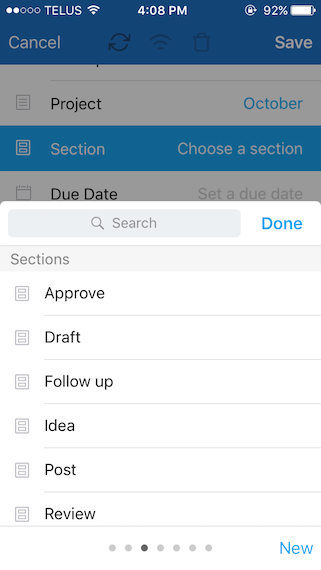
In the task pane, tap the project field to select the project you want to create the section(s) in. When the project is selected, the “Sections” field will appear below the project field in the task pane. Tap “Choose a section” to open up popover menu. Here you can either select an available section (if you want to add a task to it) or tap “New” to create a new section in the project.
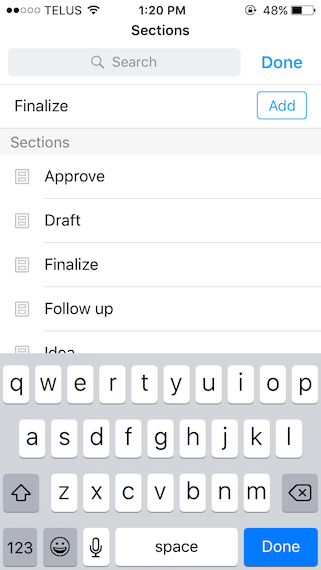
Next, enter the name of your section and tap “Add” to create the new Section. This section will automatically save and appear in the section field.
If you want to create more than one section, just tap the section field again and repeat the above steps. Note: you do not need to create/save the task to create the new section, but if you do create a task with a section selected it will be sorted under the section as soon as it is saved.
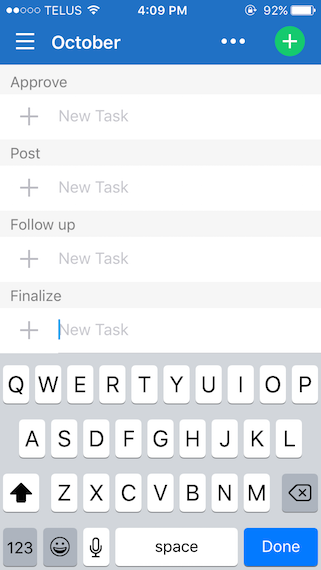
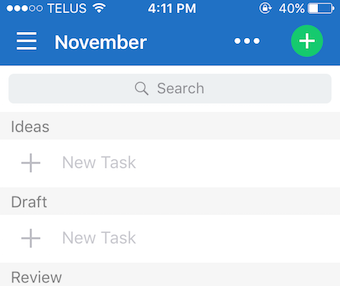
Once saved, your section names will appear in grey banners with a quick taskbar under each section header. This allows you to quickly create tasks in the section of your choice without the use of task pane.